Here's Exactly What You'll Do (And How Long It Takes)
You'll follow 5 concrete steps to build a portfolio that wins clients.
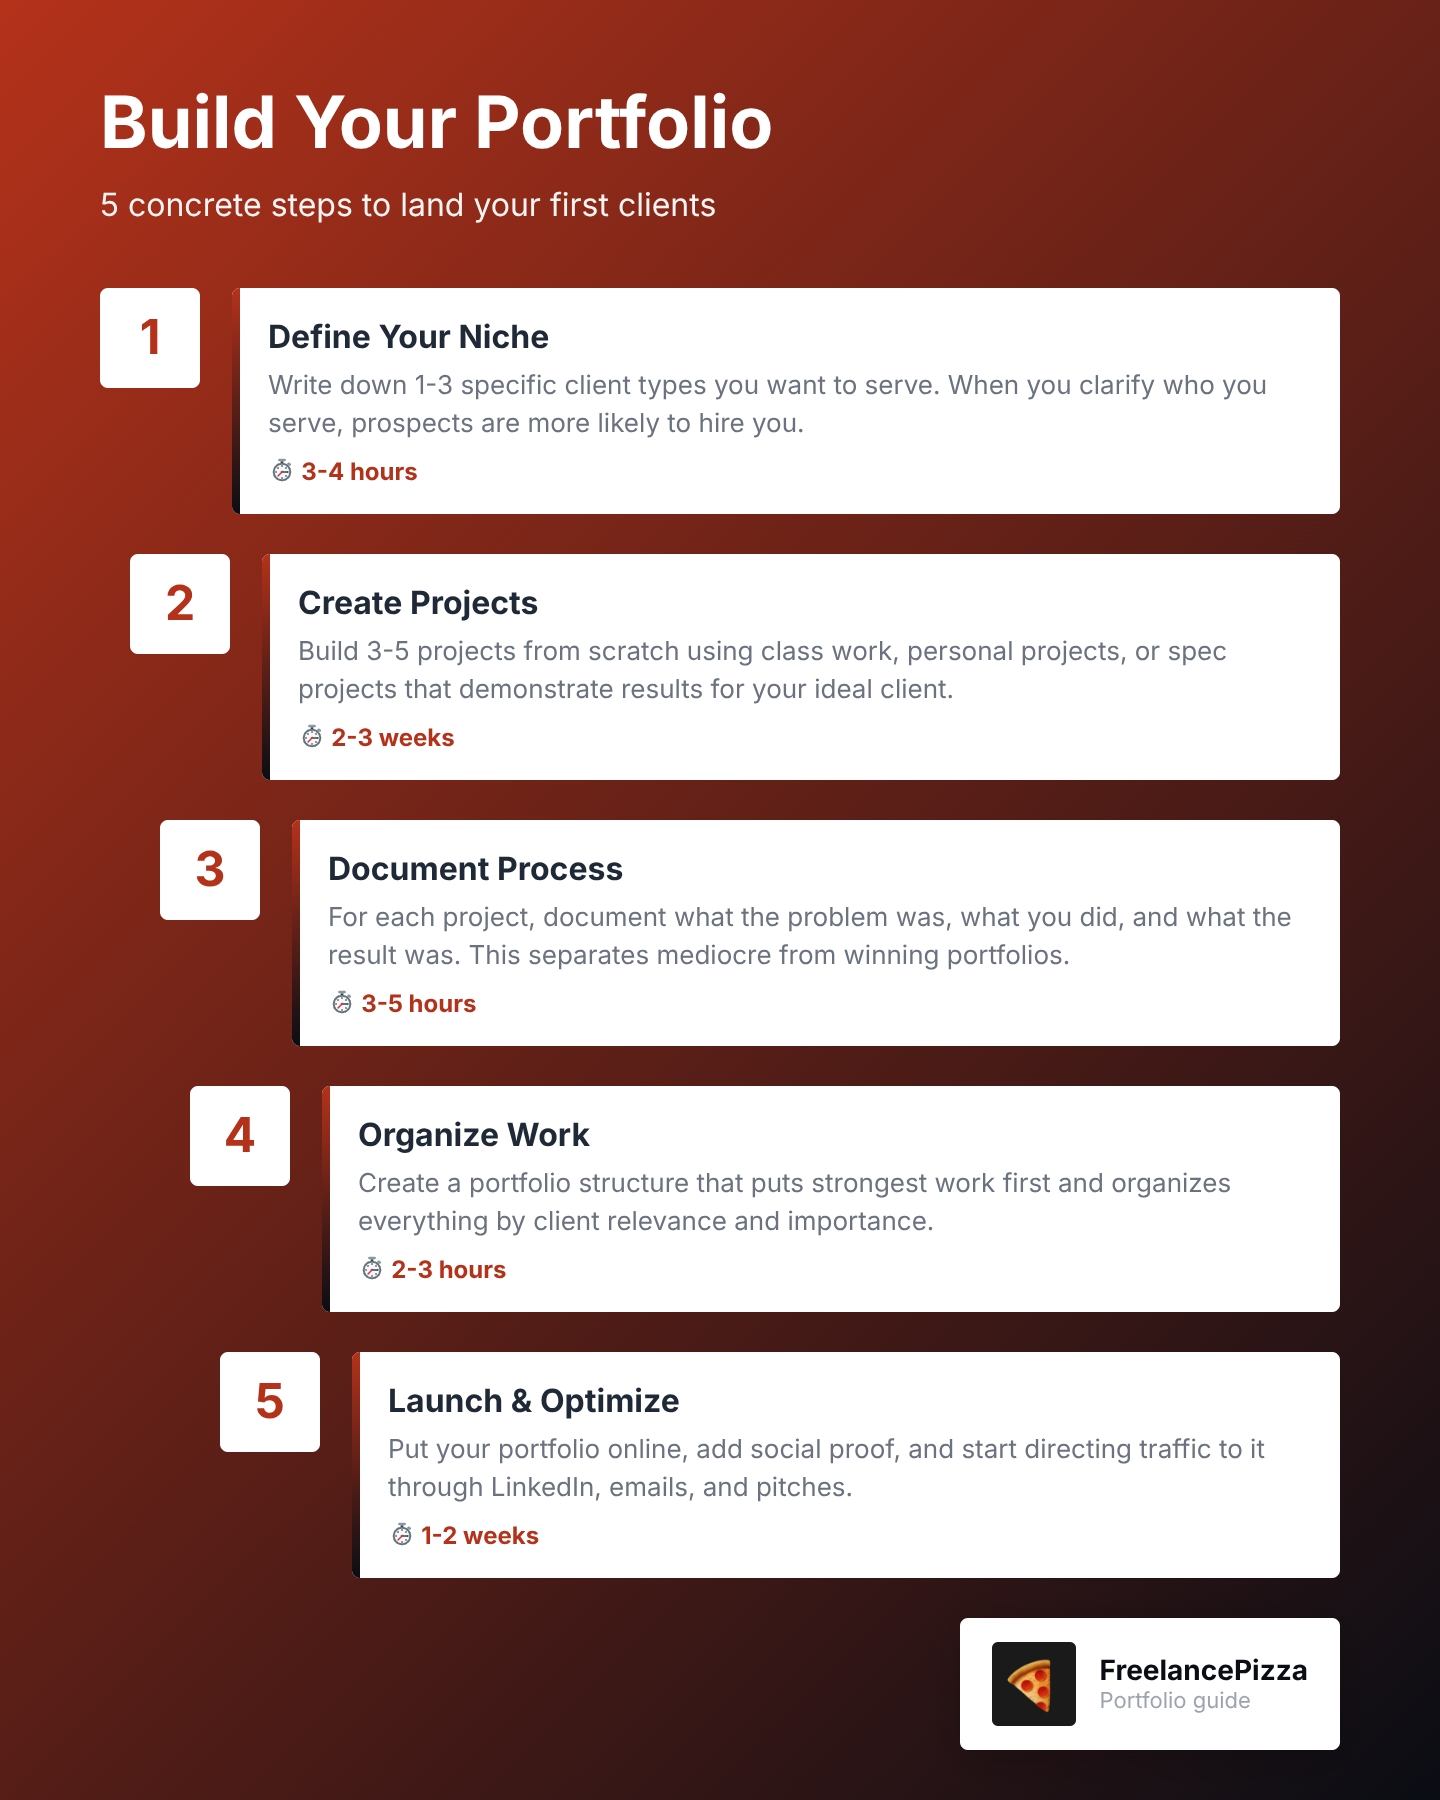
The 5 Steps:
- Define Your Niche and Ideal Client (3-4 hours)
- Create Your First Projects (2-3 weeks)
- Document Your Creative Process (3-5 hours)
- Organize and Present Your Work (2-3 hours)
- Launch and Optimize Your Portfolio (1-2 weeks)
Timeline: You can launch a basic portfolio in 2-3 weeks. A stronger version with 3-5 solid case studies takes about 6-8 weeks.
Difficulty level: Beginner-friendly. No advanced design or technical skills required beyond your core freelance skill.
What you'll have at the end: A live portfolio website with 3-5 case studies, organized by client relevance, with your creative process documented.
Ready? Let's go.
Before You Start: What You Actually Need
Good news. You probably already have most of what you need.
Tools you'll need (free options exist for all of these):
- A portfolio platform (Figma, Webflow, Wix, or WordPress)
- A computer and software you already use (Canva, Google Docs, Adobe, etc.)
- A way to host it online (most portfolio platforms handle this)
You don't need expensive tools. Focus on the work first. The fancy design comes later.
What we're assuming about you:
You already know your craft. You're skilled at design, writing, development, or marketing. You just don't have paid client work to show yet.
The mindset shift you need:
You'll need to create unpaid work initially. Yes, unpaid. Personal projects, mock work, and spec projects all count. This is how new freelancers build credibility.
Not comfortable with that? Here's the reframe: You're investing in your future clients, not working for free forever. This is temporary. And it works.
One worry you probably have:
"Isn't using personal projects unprofessional?"
Nope. Just label them clearly. Add a note saying "Personal Project" or "Self-Directed Learning Project." Then explain what you learned and what results you achieved. That's it.
Step 1: Define Your Niche and Ideal Client (3-4 Hours)
What to Do
Write down 1-3 specific client types you want to serve. Then reorganize your portfolio around their needs.
Why This Matters
When you clarify who you serve, prospects are more likely to hire you. Even if other freelancers have more experience.
Why? Because your portfolio speaks directly to them. If a prospect visits your portfolio and sees a project that looks exactly like the one they need, they'll hire you. They won't wait for someone with more credentials.
How to Do It
Start simple. Ask yourself:
- Who do I want to work with? (e.g., "E-commerce startups," "Local service businesses," "SaaS companies")
- What problems do they have? (e.g., "They need a faster website," "They need better copy," "They need social media strategy")
- What results can I deliver? (e.g., "Faster load times," "More conversions," "More followers")
Write these down. Be specific. "Everyone" is not a niche.
Common Mistakes to Avoid
Mistake 1: Picking a niche you don't actually want to serve. Choose based on who you genuinely want to work with, not who pays the most.
Mistake 2: Picking a niche that's too broad. "Businesses" is too broad. "E-commerce beauty brands" is good.
Mistake 3: Changing your niche every month. Pick one. Stick with it for at least 6 months.
Example
Let's say you're a copywriter. Instead of targeting "small businesses," you narrow it down to "female-founded fitness studios." Now every piece of your portfolio, every case study, every testimonial speaks to that exact client.
When a female-founder fitness studio visits your portfolio, they see themselves immediately.
What Success Looks Like
You can write down your ideal client in one paragraph. You can explain why you want to serve them. You can name 2-3 specific problems they have.
If you can do that, you're ready for Step 2.

Step 2: Create Your First Projects (2-3 Weeks)
What to Do
Build 3-5 projects from scratch. These can be personal projects, mock work, or spec projects. The key: they must demonstrate the results you deliver to your ideal client.
Why This Matters
You can't fake a portfolio. But you can create one honestly. Class projects, self-directed learning projects, and mock client briefs all count.
What matters is that your portfolio shows you can deliver results.
How to Do It: Three Types of Projects
Type 1: Class Projects
If you have formal education (bootcamp, degree, course), use your best work from that. Just make sure it reflects your best work today, not your best work from two years ago.
Type 2: Personal Projects
Create projects for yourself or people you know. A website redesign for a local shop. A rebrand for a friend's side hustle. A marketing campaign for a cause you care about.
Type 3: Spec Projects (Mock Client Work)
Create fake client briefs and solve them. Pretend a fitness studio hired you to write their homepage copy. Pretend an e-commerce brand needs a new landing page design. Then do the work.
Common Mistakes to Avoid
Mistake 1: Including quantity over quality. Quality always beats quantity. Three amazing projects beat ten mediocre ones.
Mistake 2: Including old work that doesn't represent you today. Be ruthless. If it doesn't make you proud, it doesn't go in.
Mistake 3: Picking projects that don't match your niche. Remember Step 1? Every project should appeal to your ideal client.
Example
You're a web designer who wants to serve e-commerce brands. Don't include:
- A personal website you built five years ago
- A portfolio project for a restaurant
- A site redesign you did in a bootcamp last year
Do include:
- A complete e-commerce site redesign (even if it's a mock project)
- A landing page for an online course
- A product page redesign that shows clear improvements (even if it's a case study you created)
What Success Looks Like
You have 3-5 projects that make you proud. Each one solves a problem for your ideal client. Each one shows a clear result. You'd be comfortable showing them to a real prospective client today.
Step 3: Document Your Creative Process (3-5 Hours)
What to Do
For each project, write down what you did, why you did it, and what happened as a result.
Why This Matters
Here's what separates a mediocre portfolio from one that lands clients: describing each phase of your design process explains why your work is effective. A before-and-after screenshot is okay. A before-and-after WITH the story behind it? That's when prospects understand your value.
How to Do It: The Simple Three-Part Framework
For each project, answer three questions:
1. What was the problem?
What did the client (or you) need? Keep it one paragraph.
Example: "The fitness studio's website was outdated. It didn't work on mobile. Potential members couldn't easily book a class online."
2. What did you do?
Walk through your process step by step. What research did you do? What did you create? How did you make decisions?
Example: "I interviewed current members about what they wanted. I redesigned the homepage to showcase class photos and testimonials. I added a one-click booking system."
3. What was the result?
What changed? If you have numbers, great. If not, describe the improvement.
Example: "Bookings increased. Mobile traffic became a larger portion of all visitors."
Only include real numbers if you actually have them. Don't make up statistics.
Common Mistakes to Avoid
Mistake 1: Being too vague. "I redesigned the website" tells nobody anything. "I increased the homepage conversion rate by moving the call-to-action above the fold and adding social proof" is specific and memorable.
Mistake 2: Focusing only on what you made, not why you made it. Prospects want to understand your thinking, not just your output.
Mistake 3: Including results you can't back up. If you don't have actual metrics, describe the qualitative improvement instead.
Example
Weak: "I wrote better copy for the landing page."
Strong: "The homepage copy was too generic. I interviewed three fitness studio owners and discovered they wanted to emphasize community and inclusivity. I rewrote the headline to lead with those values. The email signup rate improved after the change."
What Success Looks Like
For each project, you have a 150-300 word case study. Someone reading it understands the problem, your solution, and why it mattered. You're proud of it. You'd be comfortable sharing it with a prospect.
Step 4: Organize and Present Your Work (2-3 Hours)
What to Do
Create a portfolio structure that puts your strongest work first and organizes everything by client relevance.
Why This Matters
Prospects don't scroll. They scan. Organize your portfolio by importance. Include work relevant to each client's needs at the top. Let them know upfront that you have the skills they need.
This is how you stand out. Not by having the most projects. By making it impossibly easy for the right client to see that you're perfect for them.
How to Do It: Two-Part Structure
Part 1: Above the Fold (First Thing They See)
Create a short intro section. One sentence about what you do. One sentence about who you serve.
Example: "I design e-commerce websites that increase conversion rates. I work with sustainable fashion brands."
Then show your 1-2 strongest projects. These should be the ones that best match your ideal client.
Part 2: Project Gallery
Order the rest of your projects by relevance to your niche. Strongest projects first. Weaker projects last (or consider cutting them entirely).
Common Mistakes to Avoid
Mistake 1: Leading with your weakest work. Your first project is the one that gets clicked on most. Make it count.
Mistake 2: Using a generic About section that could apply to anyone. Write specifically about the client you serve and the problems you solve.
Mistake 3: Burying your best work in the middle. Put it front and center.
Example
Before (Random order):
- Class project from bootcamp
- Personal rebrand (your own)
- A redesign for a local restaurant
- Spec project for an e-commerce brand
- Another personal project
After (Organized by relevance):
- Spec project for an e-commerce brand (matches your niche)
- Redesign for a small online shop (matches your niche)
- Class project from bootcamp (shows foundational skills)
- Personal rebrand (shows versatility)
- Redesign for a local restaurant (doesn't match niche, but strong work)
What Success Looks Like
Someone lands on your portfolio. Within 15 seconds, they understand what you do and who you serve. They can immediately see a project that looks like their own needs. They click to learn more.
Step 5: Launch and Optimize Your Portfolio (1-2 Weeks)
What to Do
Put your portfolio online. Add social proof. Start directing traffic to it.
Why This Matters
A portfolio that nobody sees doesn't help you. Your portfolio works for you while you sleep. But only if people can find it.
How to Do It: Three Actions
Action 1: Choose a Platform and Launch
Pick one: Figma, Webflow, Wix, or WordPress. They all work. Pick the one that feels easiest.
Then publish it. Not "when it's perfect." Now. Imperfect is better than invisible.
Action 2: Add Social Proof
You don't have client testimonials yet. That's okay. Add:
- LinkedIn recommendations (ask friends or colleagues for one)
- Certifications or courses you've completed
- Your qualifications and experience
- A simple bio that builds credibility
Action 3: Direct Traffic to It
Once your portfolio is live, link to it everywhere:
- Your LinkedIn profile
- Your email signature
- Any pitches you send to prospective clients
- Your social media bios
Common Mistakes to Avoid
Mistake 1: Waiting for it to be perfect. Launch it now. You can update it next week.
Mistake 2: Not including any contact information. Make it easy for someone to hire you. Add an email link, contact form, or link to your booking page.
Mistake 3: Forgetting about it once it's live. Update your portfolio every time you finish a new project. Keep it fresh.
Example
Your portfolio goes live on a Monday. By Tuesday, you've:
- Updated your LinkedIn profile with a link
- Added it to your email signature
- Sent it to three prospects you've been talking to
- Posted about it on Twitter or LinkedIn
What Success Looks Like
Your portfolio is live and searchable. People can find you. When you send a pitch to a prospective client, you include a link to your portfolio. At least one prospect per month visits it.

How to Know You're Doing It Right
Here's the checklist:
- [ ] You can describe your ideal client in one paragraph
- [ ] You have 3-5 projects in your portfolio
- [ ] Each project has a documented creative process
- [ ] Your strongest work is front and center
- [ ] Someone visiting your site immediately understands what you do and who you serve
- [ ] Your site is live and you can share a link
- [ ] You're directing traffic to it (LinkedIn, emails, pitches)
If you can check all of these, you're done. Your portfolio is ready to start landing you clients.
What Comes Next
Building a portfolio is step one. Here's what to do now.
Immediate (This Week):
Start directing traffic to your portfolio. Share it with people in your network. Add it to every pitch you send. Track which projects get the most clicks.
Short Term (Next 4-8 Weeks):
As you land your first few paid clients, add them to your portfolio. Replace your weakest spec projects with real client work.
Advanced (3-6 Months In):
Once you have paying clients, focus on getting testimonials and case studies from them. Real client work beats spec work every time.
The Real Goal
You're spending hours each week hunting for work. A strong portfolio changes that math. Prospects come to you instead. You spend less time searching. You have more time to do the work you love.
That's the promise. That's what we're working toward.
Your portfolio is the bridge between "I'm looking for clients" and "Clients are looking for me."
Start with Step 1 this week. You've got this.